Custom fields
Custom fields allow you to add more information to your invoices and proposals.
They are bound to the template that is being used and can be defined in the template's template.json file.
The following field types are currently available:
#Field types
String | Rendered as a single-line text input. |
RichText | Rendered as a multi-line textarea with formatting options. |
Date | Rendered as a date input. |
Boolean | Rendered as a checkbox. |
To add one or more custom fields, add a fields array to your template.json:
#template.json example
{
	"name": "Template with Fields",
	"fields": [
		{
			"name": "title",
			"type": "String",
			"title": {
				"de": "Titel",
				"en": "Title"
			},
			"slot": 1
		},
		{
			"name": "proposalText",
			"type": "RichText",
			"title": {
				"de": "Angebotstext",
				"en": "Proposal Text"
			},
			"slot": 1
		},
		{
			"name": "firstMilestone",
			"type": "Date",
			"title": {
				"de": "Erster Meilenstein",
				"en": "First Milestone"
			},
			"slot": 1
		},
		{
			"name": "reverseCharge",
			"type": "Boolean",
			"title": {
				"de": "Reverse Charge",
				"en": "Reverse Charge"
			},
			"slot": 3
		}
	]
}

#Positioning custom fields in the form using slots
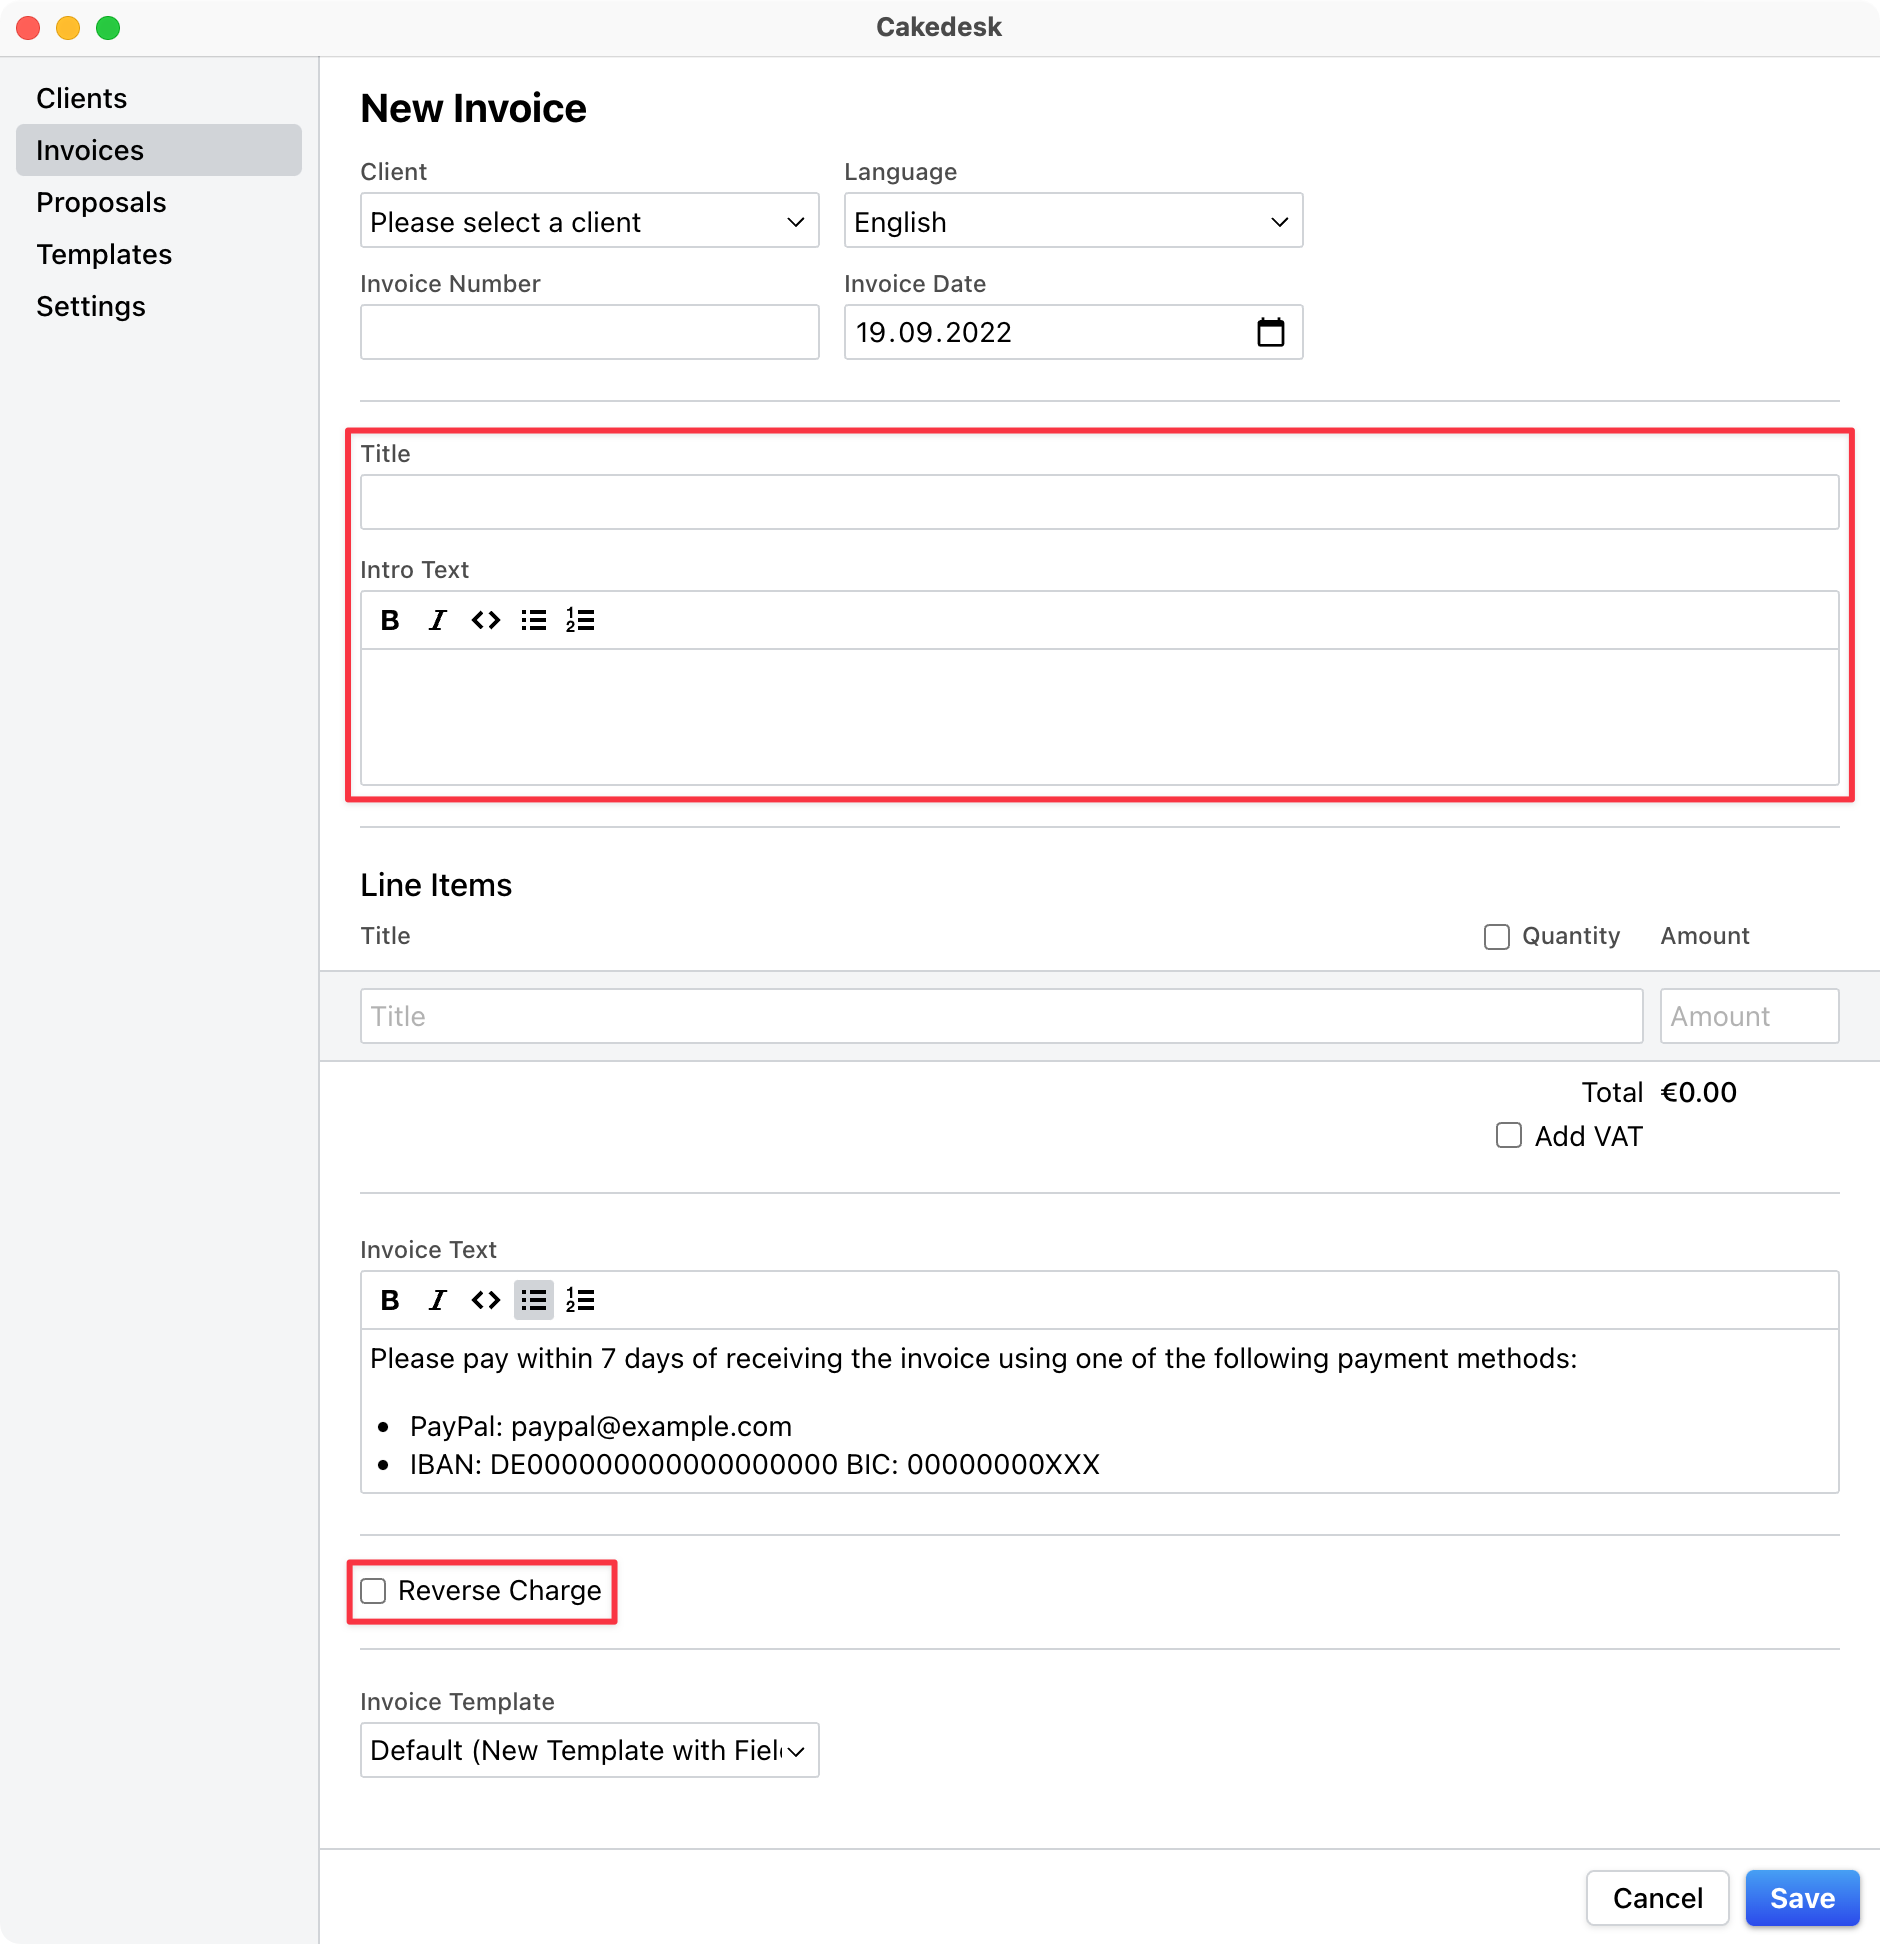
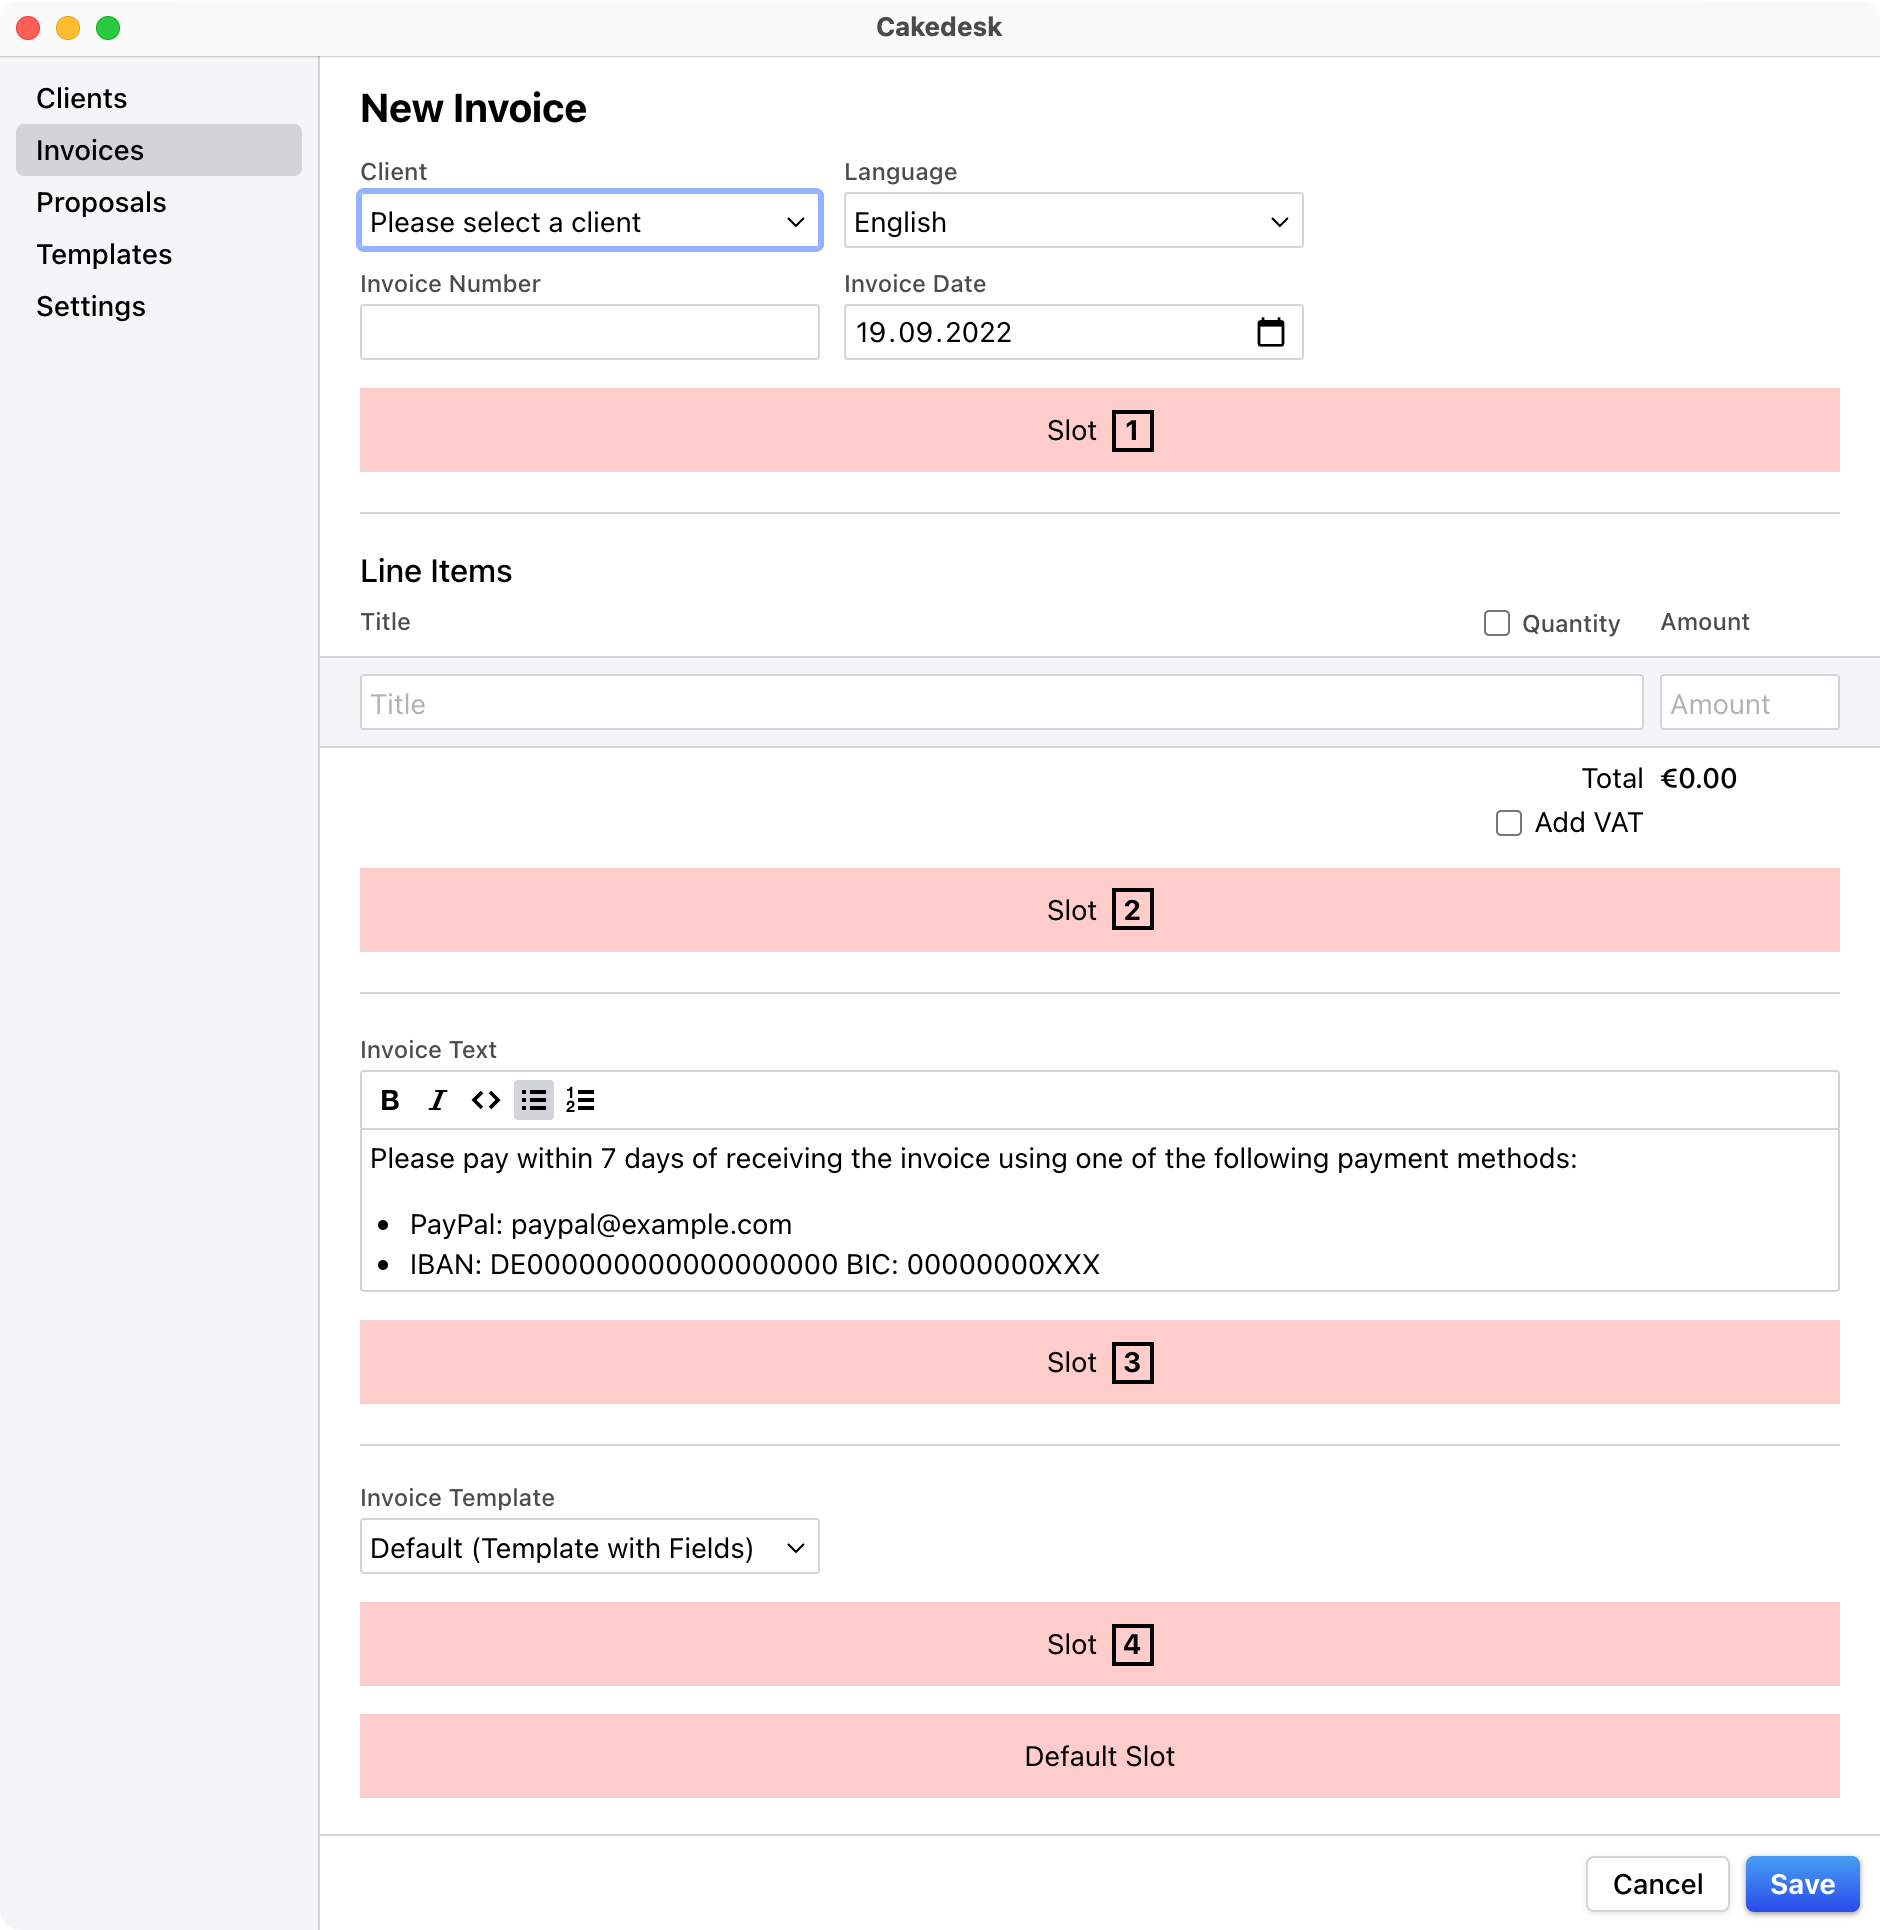
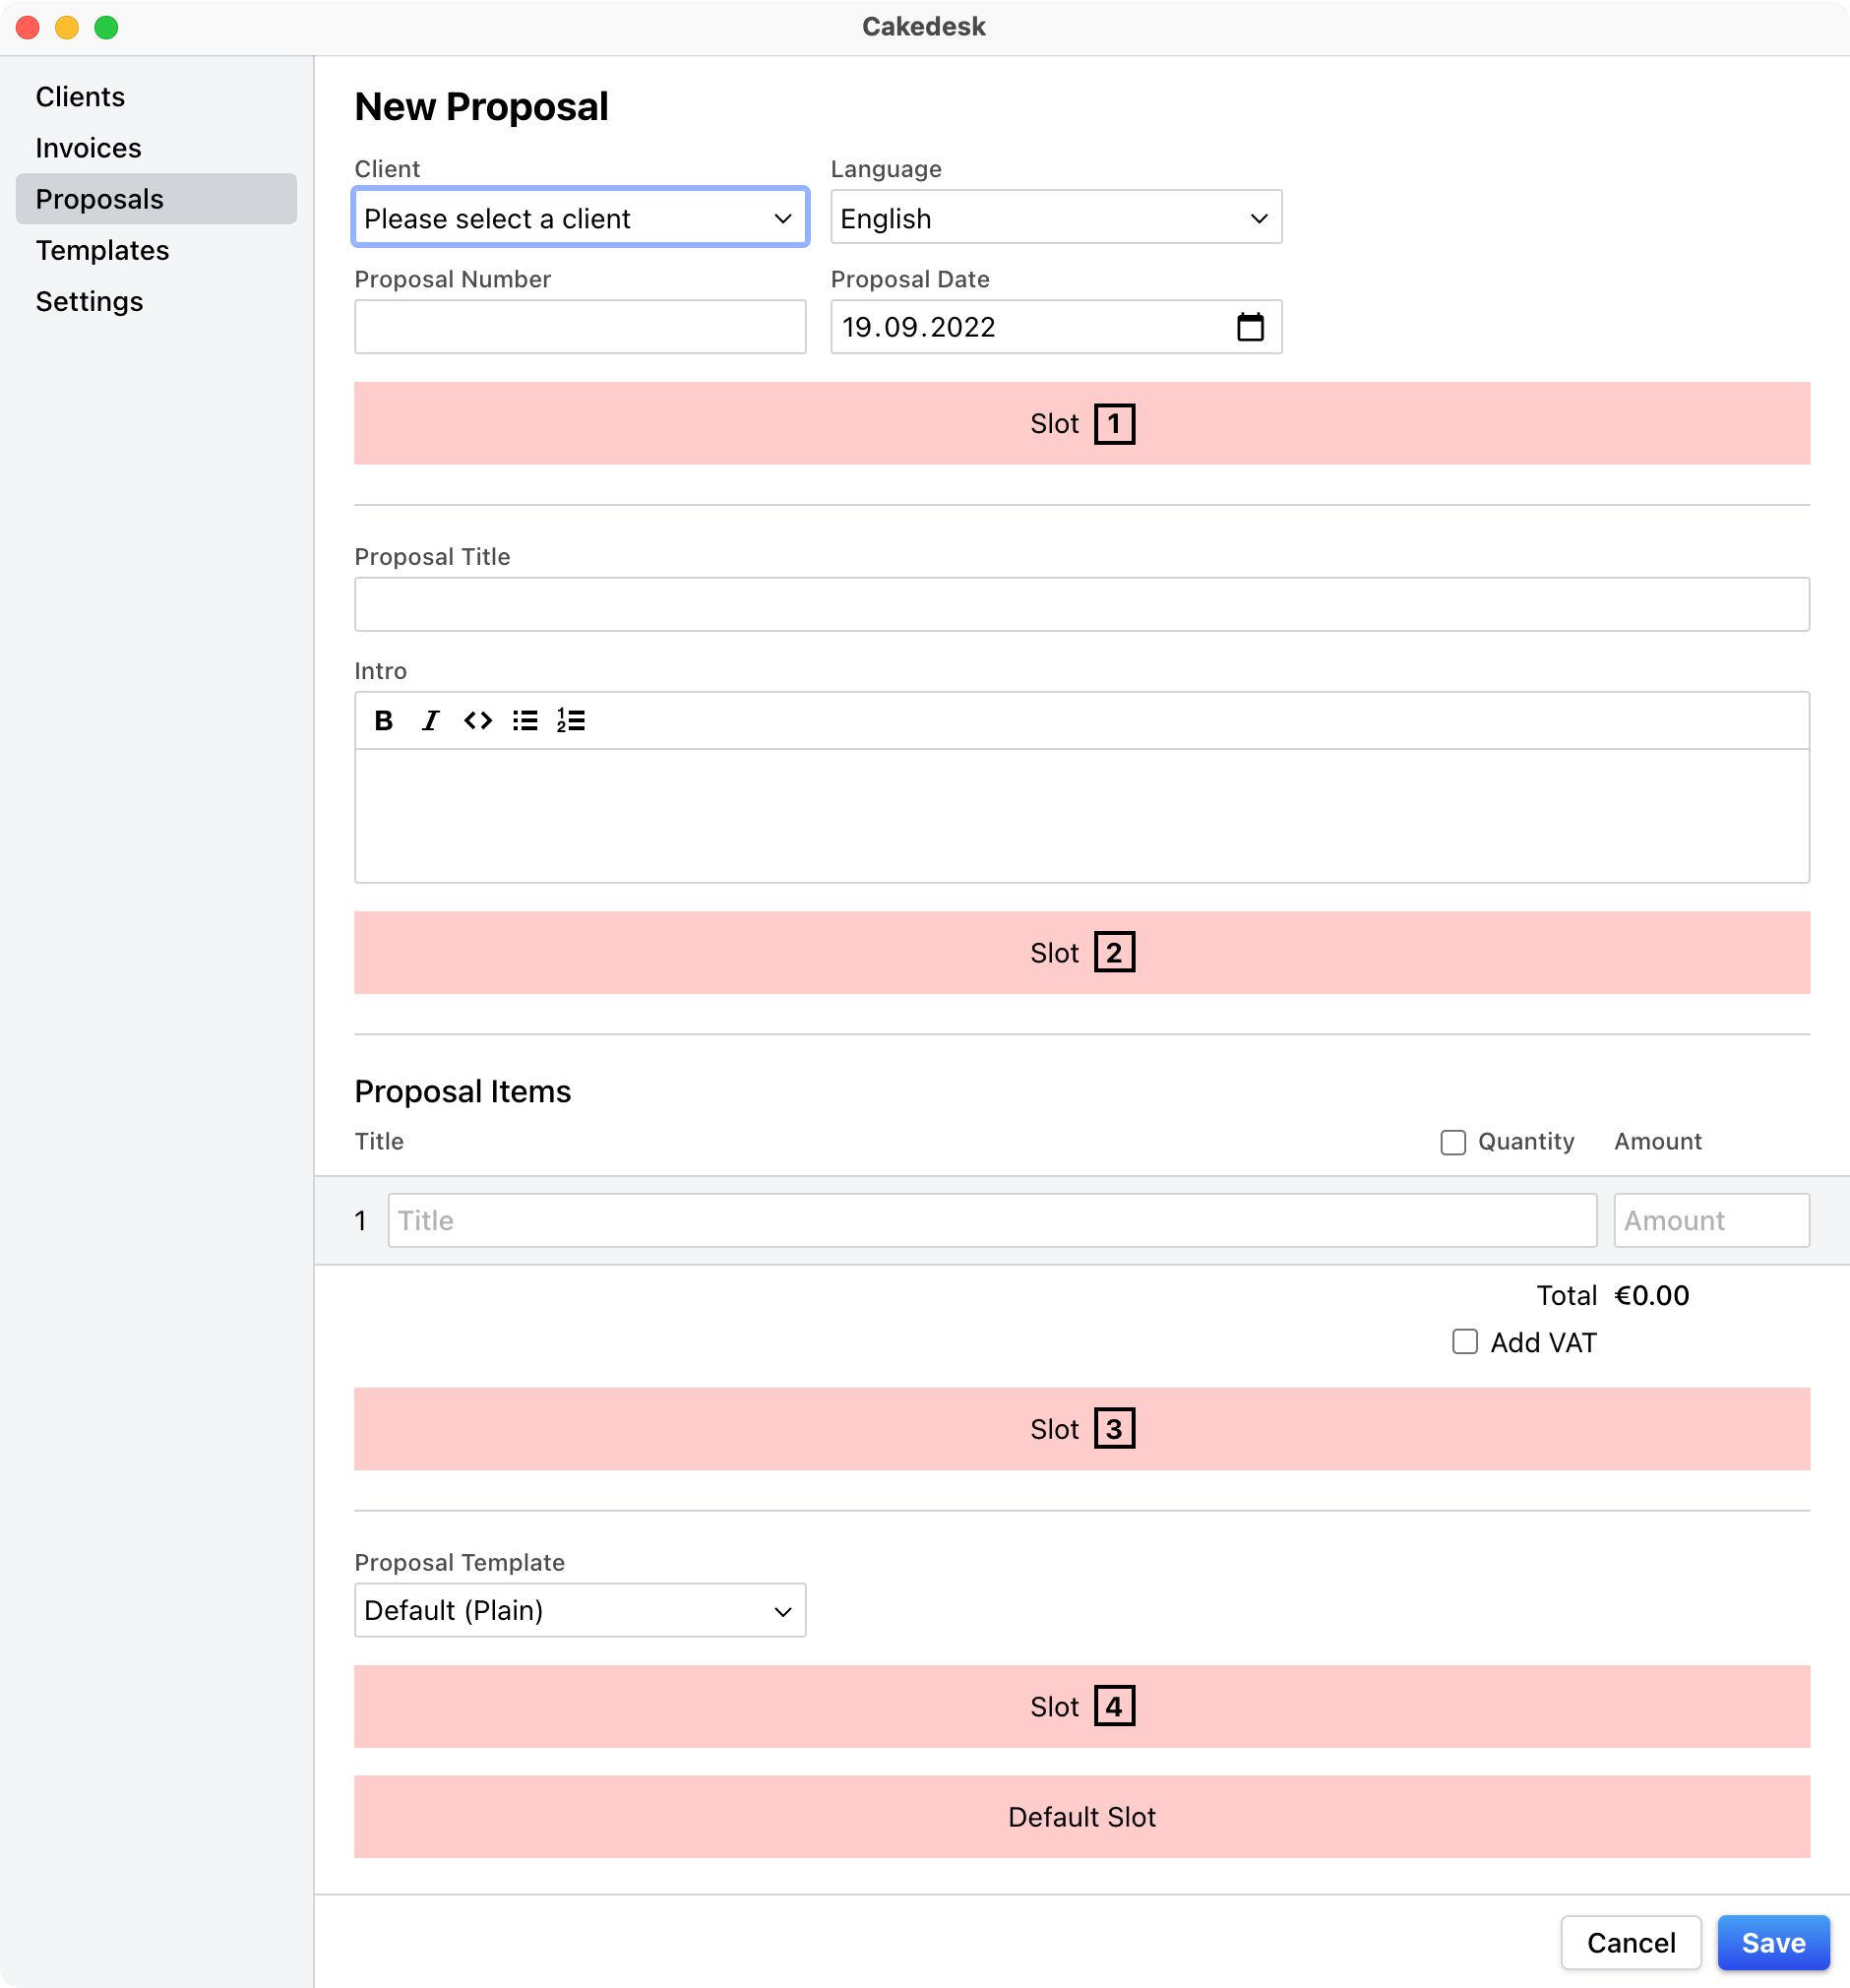
By default, all custom fields are rendered at the end of the form. To change a custom field's position, you can insert
them into slots using the field's slot property.
#Displaying custom fields in the PDF
To display a custom field in the PDF, use the field() helper.
For example, to display a custom field with the name "customTitle", write the following in your template.ejs file:
<%= field('customTitle') %>
In the case of a date field, you can use the formatDate helper to format the date:
<%= formatDate(field('myDate')) %>

